If you’re looking to enhance the access and ease of moving around outside your house, a concrete path is a perfect solution. It’s convenient, cost-effective, and a great DIY project. Concrete paths can be installed all around your house, garage, carport, pool area, or spa, and can link together different living areas. This article will provide you with a step-by-step guide on how to create your own concrete pathway with the perfect finish. Click here to view our services, Specializing in small concrete jobs in Toowoomba with a focus on precision. Expand your concrete proficiency with this comprehensive guide on How to Do Exposed Aggregate Concrete Driveway: Techniques and Design. Gain valuable insights into techniques and design considerations for creating an exquisite exposed aggregate concrete driveway, offering essential knowledge for your upcoming project.
Key Takeaways:
- Creating a concrete pathway is a convenient and cost-effective way to improve accessibility around your house.
- A concrete path can be a great DIY project, allowing you to customize the design and save on installation costs.
- By following the step-by-step guide provided in this article, you can achieve professional results and create a durable and attractive pathway.
- Consider the layout and design of your pathway to enhance the overall aesthetic appeal and functionality of your outdoor space.
- Concrete paths are easy to maintain, eliminating the need to step in mud or collect grass on your feet, and can be cleaned with a hose.
The Tools and Equipment You’ll Need
To create your concrete path, you will need the following tools and equipment:
- Protective gear: gloves, long pants, a long sleeve shirt, and gumboots to protect your skin from the concrete
- Concrete mix: available at most larger hardware stores
- Wheelbarrow or concrete mixer: to prepare the concrete mix
- Plywood boards and stakes: for creating forms to shape the sides of the pathway
- Concrete float: used to lay and smooth the concrete
- Groove trowel: for creating decorative grooves or patterns on the surface of the pathway
- Plastic sheets: to cover the pathway while it dries, helping to prevent cracking and ensure a smooth finish
Having the right tools and equipment is essential for a successful concrete pathway project. Protecting yourself with the appropriate gear and using quality materials will ensure a professional and durable result.
Investing in Protective Gear
When working with concrete, it is important to prioritize safety. Concrete can cause skin irritation and burns, so wearing protective gear is crucial. Gloves will shield your hands from direct contact with the concrete mixture. Long pants and a long-sleeve shirt will provide additional coverage to protect your legs and arms. Gumboots will keep your feet dry and prevent cement from entering your shoes. By wearing the appropriate protective gear, you can work confidently and minimize the risk of any accidents or injuries.
Getting Started – Preparing the Area
Before pouring the concrete, you need to prepare the area. Here’s a step-by-step guide on how to get started:
- Plot the pathway: Begin by mapping out the pathway you want to create around your house. Use paint to mark the lines to ensure accuracy and precision.
- Excavate the path: Dig out the pathway to a depth of approximately 20cm, removing any grass, dirt, and debris. This will provide a solid foundation for your concrete.
- Smooth out the soil: Once the path is excavated, take the time to level the soil and create a flat base. This will help prevent any unevenness in your finished pathway.
- Pour gravel: Pour a layer of gravel to a depth of 10cm over the smoothed soil. The gravel will aid in drainage and provide stability for the concrete.
- Use a plate compactor: To ensure a firm and even surface, use a plate compactor to compact the gravel layer. This will eliminate any voids and create a solid and stable foundation for the concrete.
By following these steps, you will have a well-prepared area that is ready for the next stage of your DIY concrete pathway project.
Building the Formwork
Once the area is prepared, it’s time to build the formwork for your concrete pathway. The formwork acts as a mold to contain the wet concrete and shape it according to your desired pathway design.
To create the formwork, you will need plywood planks and wooden stakes. The plywood planks will form the sides of the path, while the wooden stakes will anchor and support the formwork.
Here’s how to build the formwork:
- Place the wooden stakes at 10cm intervals along the outer edges of the path, ensuring they are positioned slightly lower than the height of the form sides.
- Connect the stakes with the plywood planks, attaching them securely with screws to form a sturdy frame.
Pro tip: To prevent the concrete from sticking to the formwork and ensure a smooth finish, lightly spray the forms with water before pouring the concrete.
Once the formwork is in place, you’re ready to move on to the next step of the pathway construction process: pouring the concrete.
| Materials | Tools |
|---|---|
| Plywood planks | Drill or screwdriver |
| Wooden stakes | Tape measure |
| Screws |
Pouring the Concrete
Once you have prepared the concrete mix according to the instructions provided, you are ready to start pouring. It is important to follow the specific mix instructions to ensure the desired consistency and strength of the concrete.
To begin, pour the concrete at the lowest vertical point of the pathway. This will help to ensure an even distribution of the material. Use a shovel or a bucket to transfer the concrete onto the pathway.
As you pour the concrete, use a flat object such as the back of a rake to flatten it roughly. This will help to create an even surface and remove any air pockets or uneven areas. Work your way along the pathway, pouring and flattening the concrete as you go.
Once the entire pathway is poured, it’s time to screed the surface. This involves using a board of plywood to smooth out and level the concrete. Start at one end of the pathway and drag the board across the surface, moving in a back-and-forth motion. This process will help to ensure an even and flat surface for your pathway.
After screeding, use a concrete float to further smooth out the surface. A concrete float is a tool with a flat, rectangular surface that is used to smooth and compact the concrete. Move the float in a circular motion over the surface of the concrete, working from one end of the pathway to the other. This will help to create a professional-looking finish.
Remember to work efficiently while pouring the concrete, as it will start to set within an hour or so. Make sure to have all your tools and equipment ready before you begin, and work in sections if necessary to ensure a consistent finish.

Finishing the Job
Once you have poured and smoothed the concrete for your pathway, there are a few final steps to ensure a durable and attractive finish.
Creating Expansion Joints
After allowing the concrete to set for about an hour, it’s important to create expansion joints. These joints will help protect your pathway from hairline cracks that can occur due to temperature changes and shifting ground. Use an edging trowel to make cuts along the inside of the formwork, spacing them approximately 1.5 meters apart.
Adding a Non-Slip Element
If you want to enhance the safety of your concrete pathway, you can add a non-slip element to its surface. One simple method is to lightly drag an old broom across the path while the concrete is still wet. This will create subtle grooves that provide traction, reducing the risk of slips and falls.
Covering with Plastic Sheeting
To promote proper curing and prevent cracking, it’s crucial to cover the entire pathway with plastic sheeting. This will create a controlled environment and help retain moisture. Leave the plastic sheeting in place for approximately 48 hours to allow the concrete to cure fully.
After the recommended curing time has elapsed, carefully remove the plastic sheeting and the forms. Take caution not to damage the freshly cured concrete. Once the forms are removed, your concrete path is ready to be enjoyed.
Persuasive Call-to-Action
If you’d rather leave your concrete pathway project to the experts, consider contacting Toowoomba Concreters at (07) 4520 1314. Their team of professionals can assist you with all your concrete needs.
Additional Tips and Ideas
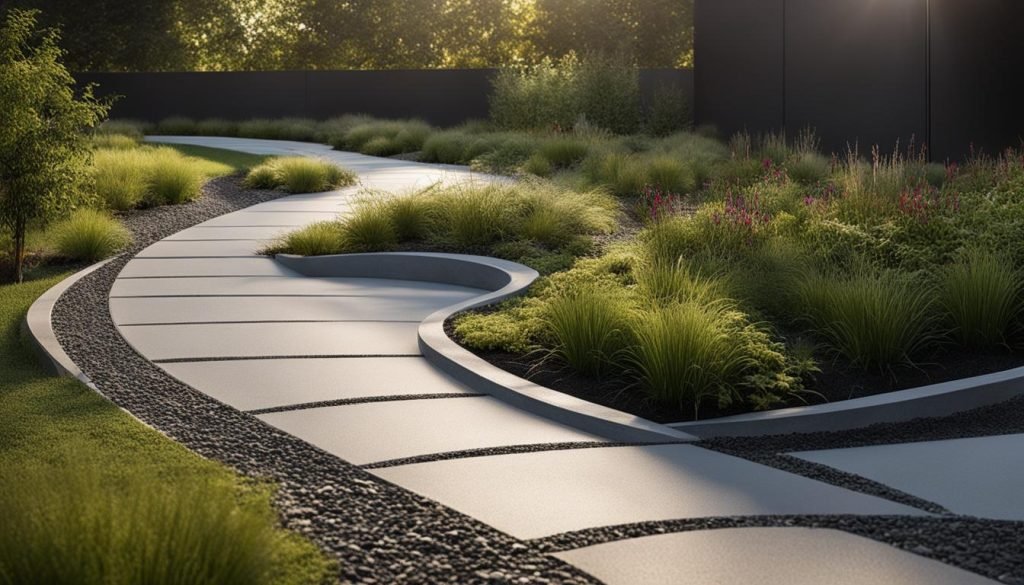
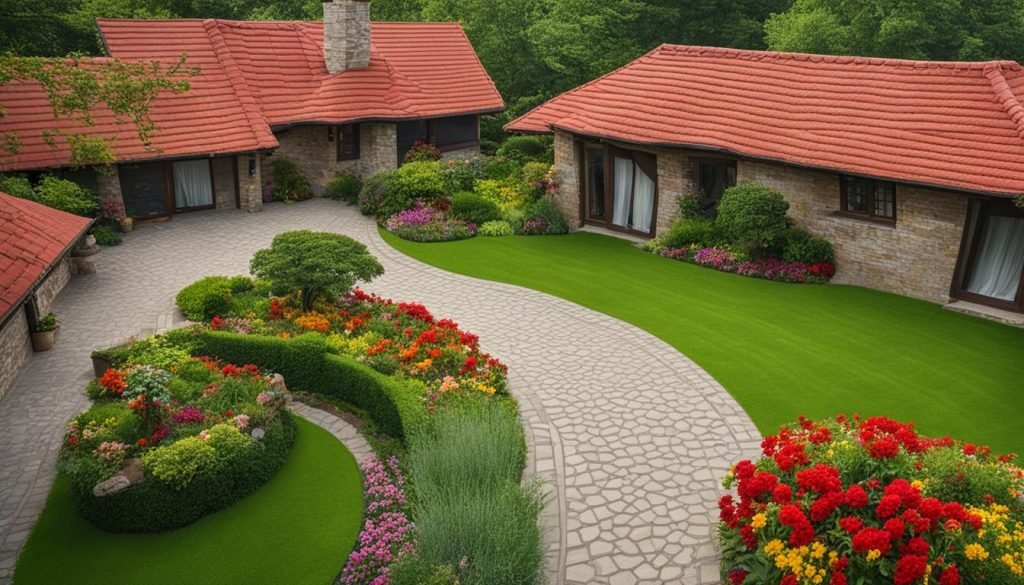
Designing a pathway around your house is an opportunity to enhance both the aesthetics and functionality of your outdoor space. Consider the layout and how it will complement the overall design of your house to create a cohesive and visually appealing pathway. Here are some additional tips and ideas to inspire your concrete project:
- Integrate decorative elements: Incorporate decorative elements along the pathway to add visual interest and personality. You can use potted plants, garden ornaments, or lighting fixtures to create focal points and enhance the ambiance.
- Choose a pathway design that suits your style: Whether you prefer a straight, curved, or winding pathway, select a design that complements the architectural style of your house and aligns with your personal taste. A well-designed pathway can significantly improve the curb appeal of your home.
- Consider landscaping features: If you have a larger outdoor space, consider integrating landscaping features such as flower beds, shrubs, or small trees along the path. These features can add depth, texture, and color to the overall design.
- Take practicality into account: While aesthetics are important, don’t forget the practicality of your pathway. Ensure that the design allows for easy access and smooth navigation around your property. Consider the width and surface texture to ensure safety and convenience.
By carefully considering these tips and ideas, you can create a concrete pathway that not only serves its purpose but also enhances the overall appeal of your house. Let your creativity and personal style shine through as you embark on this exciting project.

Benefits of a Concrete Pathway
A concrete pathway offers a range of benefits that make it a convenient, cost-effective, and easy-to-maintain solution for enhancing the usability of the outdoor spaces around your house.
- Convenience: With a concrete path, you no longer have to worry about stepping in mud or grass while moving around outside your house. It provides a clean and stable surface for easy navigation.
- Cost-effectiveness: Building a concrete pathway is a cost-effective option compared to other materials. Concrete is readily available and affordable, making it an economical choice for your outdoor projects.
- Easy Maintenance: Maintaining a concrete pathway is a breeze. Unlike gravel or pavers that require regular cleaning and repositioning, a concrete path can be easily cleaned with a hose and doesn’t require frequent upkeep.
A concrete pathway offers a durable and long-lasting solution that can withstand outdoor elements while requiring minimal maintenance. Its versatility allows it to be installed in various areas around your property, connecting different living spaces and enhancing the overall design and functionality of your outdoor areas.
Conclusion
Creating a concrete pathway around your house is a satisfying DIY project that offers both practicality and aesthetic appeal. By following the step-by-step guide provided in this article, you can achieve professional results and enhance the accessibility and functionality of your outdoor space.
With the right tools and materials, you can create a durable and attractive concrete pathway that will withstand the test of time. This pathway will provide you with a convenient and cost-effective solution for moving around outside your house, eliminating the need to step in mud or collect grass on your feet.
Whether you choose to embark on the project yourself or seek professional assistance, a concrete pathway will be a valuable addition to your home. Not only does it offer convenience and easy maintenance, but it also adds curb appeal and enhances the overall design of your house. So, why wait? Get started on your DIY concrete pathway project today and enjoy the benefits it brings!
FAQ
What tools and equipment do I need to create a concrete pathway?
You will need protective gear, a concrete mix, a wheelbarrow or concrete mixer, plywood boards and stakes, a concrete float and groove trowel, and plastic sheets.
How do I prepare the area before pouring the concrete?
Start by plotting the pathway and excavating the path. Smooth out the soil and pour gravel to create a flat surface.
How do I build the formwork for the concrete pathway?
Use plywood planks and wooden stakes to create forms for the sides of the path. Spray them with water before pouring the concrete.
What is the process for pouring the concrete?
Follow the instructions on the concrete mix, start pouring at the lowest point of the pathway, flatten it with a rake, screed it with a plywood board, and use a concrete float to smooth the surface.
How do I finish the pathway?
Use an edging trowel to create expansion joints, add a non-slip element by dragging a broom across the path, and cover it with plastic sheeting for 48 hours.
Can you recommend a professional concrete service?
Consider contacting Toowoomba Concreters at (07) 4520 1314 for all your concrete needs.
Any tips or ideas for pathway design?
When designing your pathway, consider the layout and how it will enhance the overall design of your house. You can also add decorative elements or landscaping features along the path.
What are the benefits of a concrete pathway?
A concrete pathway provides convenience, cost-effectiveness, and easy maintenance. It eliminates the need to step in mud or grass and can be easily cleaned with a hose. Concrete paths are versatile and can connect different living spaces.


