Exposed aggregate concrete driveways have become a popular choice for homeowners due to their durability and slip-resistant properties. This type of driveway not only provides a strong and long-lasting surface but also offers an aesthetically pleasing look with its exposed aggregate finish. If you’re considering installing an exposed aggregate concrete driveway, it’s important to understand the techniques and design considerations involved to achieve the desired result. Click here to view our range of Toowoomba driveways.
Key Takeaways:
- Choosing the right exposure method is crucial for achieving the desired look of your exposed aggregate concrete driveway.
- Preparation and excavation play a significant role in ensuring a solid foundation for your driveway.
- Mixing and pouring the concrete should be done carefully to achieve a smooth and level surface.
- Exposing the aggregates properly is essential for showcasing the beauty of the aggregate stones.
- Control joints and proper sealing are important for maintaining the longevity of your exposed aggregate concrete driveway.
Choosing the Right Exposure Method
When it comes to creating an exposed aggregate concrete driveway, choosing the right exposure method is crucial. This decision will impact the overall appearance and durability of the driveway. There are several exposure methods to consider, each with its own advantages and considerations. Let’s explore the most common methods:
1. Washing and Brushing Method
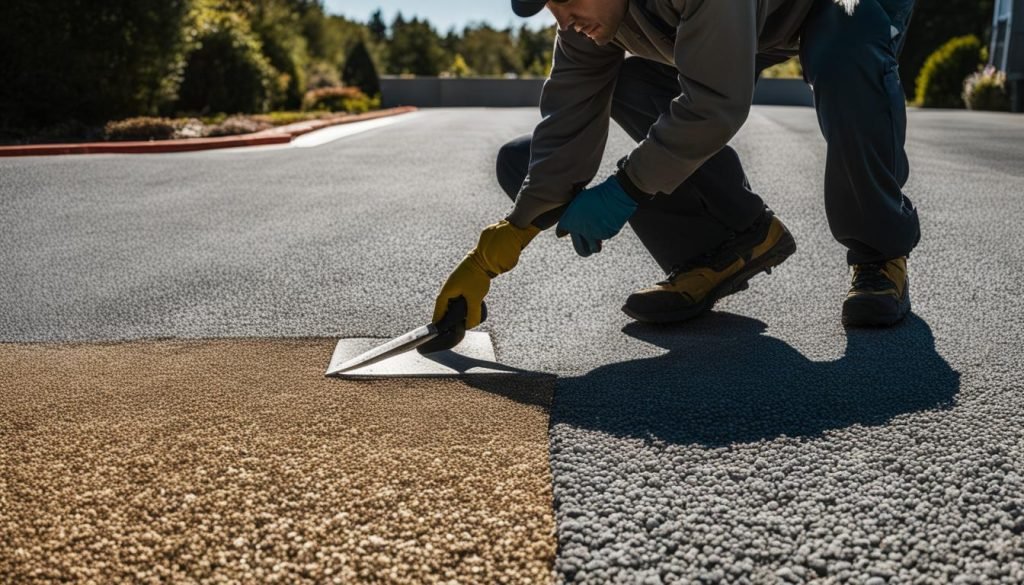
The washing and brushing method is a popular choice for exposing the aggregate in a concrete driveway. It involves spraying water onto the surface and using a stiff-bristled brush to scrub away the thin layer of surface mortar. This method is effective in revealing the aggregates while maintaining their natural color and texture.
2. Chemical Retarders Method
Using chemical retarders is another commonly used method for exposing the aggregate. These retarders are applied to the surface of the concrete after it has been placed. They slow down the curing process, allowing for easier removal of the surface mortar. This method provides more control over the timing of aggregate exposure.
3. Abrasive Blasting Method
Abrasive blasting involves using high-pressure air or water to forcefully remove the surface mortar and expose the aggregate. This method can be effective in achieving a more uniform and consistent aggregate exposure. However, it may also alter the appearance of the aggregate, leading to a rougher texture.
Each exposure method has its own advantages and considerations. The choice should be based on the desired look for the driveway and the size of the project. For smaller driveways, washing and brushing or chemical retarders may be more suitable, while abrasive blasting may be preferred for larger projects with a need for uniformity.
Overall, selecting the right exposure method is essential in creating a visually appealing exposed aggregate concrete driveway. Consider the appearance, texture, and scale of the project to make an informed decision.
Preparation and Excavation
Before pouring the concrete for your exposed aggregate driveway, proper preparation and excavation are essential. This section will guide you through the necessary steps to ensure a strong foundation and a well-shaped driveway.
Surveying the Land
Prior to any excavation work, it is crucial to survey the land. This process helps identify any underground utilities, such as gas lines or water pipes, that may interfere with the project. Additionally, surveying ensures there are no existing structures or obstructions that could impede the concrete pouring process.
Excavating the Area
If there is an existing driveway, it needs to be removed before proceeding. Excavation may also be required to level the ground or create the desired slope for proper drainage. The depth of excavation depends on the thickness of the concrete and any base layers required.
Wooden Formwork
Once the excavation is complete, wooden formwork is essential to creating the shape and dimensions of the driveway. The formwork acts as a barrier that holds the concrete in place during pouring and ensures the desired thickness and contours of the driveway.
Steel Reinforcement Framework
To strengthen the concrete and prevent cracking, a steel reinforcement framework is added to the excavated area before pouring the concrete. The framework consists of steel bars or mesh that provide structural support, enhancing the driveway’s overall durability and lifespan.
By following these preparation and excavation steps, you will lay a solid foundation for your exposed aggregate concrete driveway. This ensures that the final result will not only be visually appealing but also long-lasting and able to withstand the test of time.
Mixing and Pouring the Concrete

When it comes to creating an exposed aggregate driveway, the right mixture and pouring technique are essential for achieving a durable and visually appealing result.
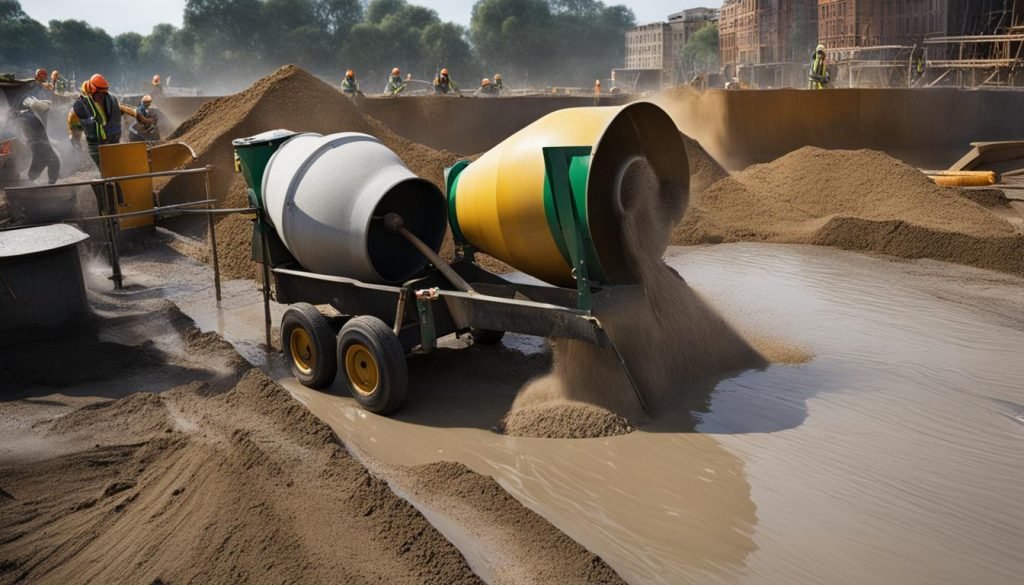
The first step is to mix the concrete using a specific ratio of cement, water, sand, and aggregate. This ensures that the concrete has the right consistency and strength for the job. It is important to follow the manufacturer’s instructions or consult a professional to determine the appropriate ratios for your project.
Once the concrete mixture is ready, it can be poured onto the prepared area. This is typically done using a concrete mixer or wheelbarrow. As you pour the concrete, make sure to spread it evenly using tools like rakes and shovels. This ensures that the aggregate is distributed uniformly throughout the driveway.
After pouring the concrete, it’s time to spread and level it. This is done using a screeding tool, which helps create a smooth and even surface. Start by dragging the screeding tool across the concrete, moving it back and forth to distribute the concrete and fill any low spots. Continue this process until the entire driveway is leveled.
It’s important to note that concrete dries quickly, so it’s essential to work efficiently during the pouring and leveling process. Ensure that you have all the necessary tools and equipment ready before you begin to avoid any delays or inconsistencies in the finished driveway.
Here is a simple step-by-step guide for mixing and pouring the concrete:
- Prepare the concrete mixture according to the recommended ratios.
- Pour the concrete onto the prepared area.
- Spread the concrete evenly using rakes and shovels.
- Level the surface using a screeding tool.
Tips for a Successful Mixing and Pouring Process:
- Work efficiently to ensure that the concrete is poured and spread before it begins to set.
- Use the appropriate tools, such as a concrete mixer, wheelbarrow, rakes, shovels, and a screeding tool.
- Take into account the weather conditions, as extreme temperatures can affect the concrete’s curing process.
- Consult a professional if you’re unsure about the correct ratios or techniques for mixing and pouring concrete.
- Ensure proper safety measures, including wearing protective clothing, gloves, and eyewear.
| Materials | Tools |
|---|---|
| Cement | Concrete mixer |
| Water | Wheelbarrow |
| Sand | Rakes |
| Aggregate | Shovels |
| Screeding tool |
Exposing the Aggregates
Once the concrete has dried, it’s time to expose the aggregates. There are different methods you can use to achieve this, each with its own advantages and considerations. Let’s take a look at the three main methods: the washing and brushing method, the abrasive blasting method, and the chemical retarders method.
1. Washing and Brushing Method
The washing and brushing method is a popular choice for exposing aggregates in a concrete driveway. It involves spraying water onto the surface and scrubbing away the thin layer of surface mortar to reveal the aggregates underneath. This method is effective and relatively easy to execute, making it suitable for DIY enthusiasts. By using a hose with a fan nozzle, you can control the water pressure and achieve the desired level of aggregate exposure.
2. Abrasive Blasting Method
The abrasive blasting method involves using high-pressure air and small abrasive particles to remove the top layer of the concrete, exposing the aggregates. While this method is effective at exposing the aggregates, it can also result in a rougher texture and may impact the appearance of the aggregate itself. It is important to consider the aesthetic outcome and consult with professionals to determine if this method aligns with your desired look.
3. Chemical Retarders Method
Chemical retarders are often preferred as they offer greater control over the exposure process. These retarders are applied to the surface of the concrete and work by delaying the set of the concrete, allowing for easier removal of the surface mortar. This method offers flexibility in terms of timing, as you can wait until the concrete reaches the desired strength before exposing the aggregates. It is important to follow the manufacturer’s instructions and consult with professionals to ensure proper application and achieve the desired results.
When choosing the method to expose the aggregates in your concrete driveway, consider factors such as your desired aesthetic outcome, the size of the project, and your level of experience. Consulting with professionals can help ensure that you achieve the desired results while maintaining the integrity of your exposed aggregate concrete driveway.
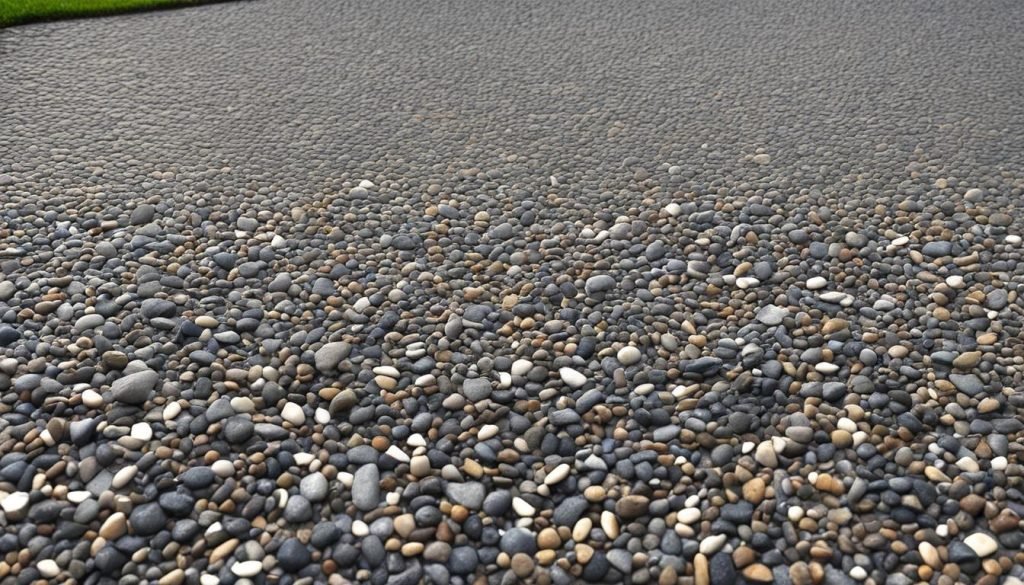
Note: The image above showcases an exposed aggregate driveway, highlighting the beauty and texture achieved through the different exposure methods.
Cutting Control Joints

Control joints are an essential part of creating a durable and crack-resistant exposed aggregate concrete driveway. By strategically cutting control joints into the concrete, you can effectively control random cracking that may occur due to factors like temperature changes and shrinkage.
The number and placement of control joints required depend on the size of the driveway. For larger driveways, more control joints may be necessary to prevent excessive cracking. These joints should be spaced at regular intervals, typically no more than 20 feet apart.
The ideal time to cut control joints is around 18 hours after the aggregates have been exposed. At this stage, the concrete is firm enough to prevent excessive fracturing but still soft enough to allow for clean and precise cuts. It is important to ensure that the control joints are created to a quarter of the depth of the concrete to effectively fulfill their purpose.
Benefits of Control Joints:
- Prevents random cracking that can compromise the structural integrity of the driveway.
- Allows for controlled expansion and contraction of the concrete, reducing the risk of significant cracks.
- Improves the overall appearance of the driveway by providing a neat and organized pattern.
- Facilitates easier repair if cracking does occur, as it is easier to address the issue in small, controlled sections.
To achieve optimal results, it is recommended to hire a professional concrete contractor experienced in cutting control joints. They have the expertise and specialized tools to create clean and precise joints that will serve their purpose effectively.
Now that the control joints are in place, we can move on to the next step of sealing the exposed aggregate driveway, which will help protect it from stains, spills, and the elements.
Sealing the Exposed Aggregate Driveway
Sealing the exposed aggregate driveway is an essential step to ensure long-term surface protection and maintain the aesthetic appeal of your driveway. By applying a film-forming acrylic resin sealant, you can effectively protect the exposed aggregate from stains, spills, and the damaging effects of the elements.
When it comes to sealing exposed aggregate, a film-forming acrylic resin is the go-to choice. This type of sealant not only offers excellent surface protection but also enhances the overall appearance of the aggregate by highlighting its finish and depth. The resin creates a glossy or semi-glossy finish, giving your driveway an attractive sheen.
After the control joints have been cut, it is recommended to wait for at least 24 hours before applying the sealer. This allows the concrete to fully cure and ensures optimal adhesion of the sealant. Applying the sealer too soon may result in less effective protection and premature wear.
The film-forming acrylic resin acts as a barrier, preventing contaminants from penetrating the surface. By sealing the exposed aggregate, you can safeguard your driveway against oil stains, dirt, water damage, and UV radiation. Additionally, the sealant helps prolong the lifespan of the concrete, reducing the need for costly repairs or resurfacing in the future.
Benefits of Sealing Exposed Aggregate Driveways:
- Enhanced durability and longevity of the concrete
- Protection against stains, spills, and weathering
- Easy maintenance and cleaning
- Prolonged aesthetic appeal with a glossy finish
To ensure the best results and optimal protection, it is essential to follow the manufacturer’s instructions when applying the film-forming acrylic resin sealant. Typically, the sealer is applied using a roller or sprayer, ensuring an even and consistent coverage over the entire surface. It is crucial to apply the sealant in thin coats and allow each coat to dry before applying subsequent layers.
Once the sealant has been applied, it is recommended to avoid driving or walking on the driveway for at least 24 hours to allow the sealer to fully cure. This will ensure maximum adhesion and longevity of the sealant, providing you with the best possible surface protection for your exposed aggregate driveway.
| Benefits of Sealing: | Protection against: |
|---|---|
| Enhanced durability | Stains |
| Longevity | Spills |
| Easy maintenance | Weathering |
| Aesthetic appeal | UV radiation |
Maintenance and Longevity
To ensure the longevity of your exposed aggregate driveway, regular maintenance is key. By following a few simple steps, you can keep your driveway looking its best for years to come.
Regular Cleaning
Regular cleaning is essential to prevent the buildup of dirt, dust, and debris on your exposed aggregate driveway. Here’s a simple cleaning routine you can follow:
- Use a leaf blower or broom to remove loose dirt and debris from the surface of the driveway.
- If there are any tough grime or stains, you can use a garden hose to spray the affected areas. For stubborn stains, a mild detergent solution can be used along with a soft-bristle brush to gently scrub the surface.
- After cleaning, rinse the driveway thoroughly with water to remove any remaining residue.
By regularly cleaning your driveway, you can maintain its appearance and prevent the accumulation of dirt and stains.
Sealing
Sealing your exposed aggregate driveway is an important step to protect it from wear and tear. A high-quality sealant creates a barrier that enhances the durability and longevity of the surface. Here are some key points to consider:
- Seal the driveway every 1-3 years, depending on the level of traffic and exposure to the elements.
- Before sealing, ensure that the surface is thoroughly clean and dry.
- Apply the sealant evenly using a roller or sprayer, following the manufacturer’s instructions.
- Allow the sealant to dry completely before using the driveway.
Sealing your exposed aggregate driveway not only helps protect it from stains and spills, but it also enhances its overall appearance.
Longevity
With proper maintenance and care, an exposed aggregate driveway can last for many years. Regular cleaning and sealing play a vital role in extending the life of your driveway. Additionally, avoiding heavy vehicles or machinery on the surface and addressing any cracks or damage promptly can help prevent further deterioration.
By following these maintenance tips and investing in regular upkeep, you can enjoy the beauty and durability of your exposed aggregate driveway for years to come.
Conclusion
In conclusion, creating an exposed aggregate concrete driveway can be a rewarding endeavor that adds both durability and visual appeal to your property. By carefully planning, preparing the area, and choosing the right techniques, you can achieve a stunning driveway that complements the overall aesthetic of your home.
Regular maintenance is crucial in preserving the longevity of your exposed aggregate driveway. Cleaning the driveway weekly using a leaf blower or broom will help remove dust and dirt, while tough stains can be eliminated with a garden hose. Additionally, sealing the driveway every 1-3 years with a film-forming acrylic resin will provide protection against stains, spills, and the elements. These maintenance practices will help keep your driveway looking its best for years to come.
By following the step-by-step guide provided in this article, you now have the knowledge and understanding to undertake the process of creating an exposed aggregate concrete driveway with confidence. Utilize the techniques and design considerations discussed here to achieve a driveway that not only enhances your property but also withstands the test of time.
FAQ
What are the different exposure methods for an exposed aggregate concrete driveway?
The most common methods include washing and brushing, using chemical retarders, and abrasive blasting.
What is the importance of preparing and excavating the area before pouring the concrete?
It ensures that there are no utilities or existing structures that may affect the project, and allows for the removal of any existing driveways or preparation of the area.
How is the concrete mixed and poured for an exposed aggregate driveway?
The concrete is mixed using a specific ratio of cement, water, sand, and aggregate. It is then poured onto the prepared area and spread evenly using tools like rakes and shovels.
How can the aggregates be exposed after the concrete has dried?
The aggregates can be exposed by washing and brushing the surface, using abrasive blasting, or using chemical retarders to remove the surface mortar.
What are control joints and when should they be cut?
Control joints are cuts made into the concrete to control random cracking. They are cut approximately 18 hours after the aggregates have been exposed and are about a quarter of the depth of the concrete.
Why is it important to seal the exposed aggregate driveway?
Sealing the driveway protects it from stains, spills, and the elements, while also highlighting the finish and depth of the exposed aggregate.
How should the exposed aggregate driveway be maintained?
The driveway should be regularly cleaned using a leaf blower or broom, and tough grime and stains can be removed using a garden hose. Sealing the driveway every 1-3 years will also help protect it from wear and tear.
Source Links
Check Out Our Other Blogs
- What is Trowel Finish Concrete: Techniques and Styles
- How to Make Silicone Molds for Concrete: A DIY Tutorial
- How to Paint Concrete Sleepers: Techniques and Tips
- How to Concrete a Path Around a House: DIY Tips
- What is Spray on Concrete: An Introduction
- How Many Concrete Bar Chairs per m2: Calculation and Usage


